Installing storage can feel intimidating the first time.
You may have a new SSD, hard drive, or external drive ready to use, but then the questions begin.
Where does this go?
Do I need cables?
Will I break something?
What if the computer does not recognize it?
What if I install it wrong?
For beginners, these worries are normal. Storage installation involves both hardware and software steps. You may need to open the PC, find the right slot, connect cables, close the system, boot the computer, and format the drive before it appears correctly.
But storage installation becomes much less scary when you follow the process in order.
The goal is not to rush.
The goal is to install the drive safely, confirm that the system detects it, and make sure it is ready for games, files, or backups.
Whether you are installing an M.2 SSD, a SATA SSD, a hard drive, or an external drive, the key is the same:
Prepare first. Install carefully. Verify before using it.
If you’re still learning how gaming storage works, our Beginner’s Guide to Gaming Storage: SSDs and HDDs explains the fundamentals so you can better understand the drives you are installing before getting started.
The “Just Plug It In” Mistake
A common beginner mistake is treating storage installation like a guessing game.
Someone opens the PC, looks around, and tries to figure it out as they go. Another person connects the drive but forgets one cable. Someone else installs the drive correctly but panics when it does not appear in Windows right away.
That last part is especially common.
A new storage drive may not show up as usable immediately. The system may detect it, but you may still need to initialize, format, or assign it a drive letter before you can store games on it.
This can make beginners think something is broken when the drive simply needs setup.
Another mistake is not checking the storage type before starting.
An M.2 SSD installs differently from a SATA SSD. A hard drive needs both data and power cables. An external drive may need the right USB port and formatting. A console storage upgrade may have its own rules.
The safest way to install storage is to follow a sequence.
Do not guess.
Identify the drive type, prepare the system, install carefully, and confirm the result.
Install Storage One Safe Step at a Time
Start by identifying the storage type.
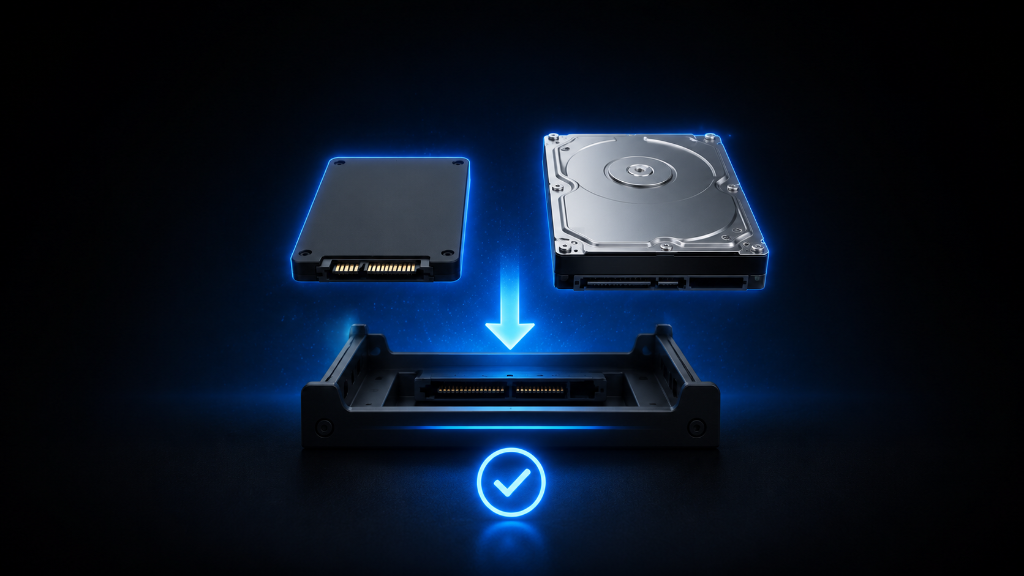
An M.2 SSD is a small stick-shaped drive that usually installs directly into an M.2 slot on the motherboard or supported device. A 2.5-inch SATA SSD is a small rectangular drive that usually needs a SATA data cable and a SATA power cable inside a desktop PC. A 3.5-inch hard drive is larger and also needs SATA data and power cables. An external drive connects outside the system, usually through USB.
This first step matters because each drive has a different installation path.
Before installing internal storage, prepare your workspace. Shut down the computer completely. Unplug the power cable. Move the system to a clean, stable surface with enough light. Gather the drive, screws, cables, screwdriver, and manual if you have one.
If you are installing an M.2 SSD, locate the M.2 slot on the motherboard or device. Remove the screw or heatsink if needed. Hold the SSD by the edges, line up the notch, and insert it gently at a slight angle. Press it down carefully and secure it with the screw or latch. Before moving on, make sure the drive sits flat and is not loose.
If you are installing a SATA SSD or hard drive, mount the drive in the correct tray, bracket, or drive bay. Then connect the SATA data cable from the drive to the motherboard. After that, connect the SATA power cable from the power supply to the drive. Before closing the case, double-check both connections. A SATA drive usually needs both data and power to appear correctly.
If you are using external storage, connect the drive with the correct cable. Use a stable surface and a proper port. If the drive has its own power adapter, plug it in. For consoles, follow the console’s storage instructions because some drives can store games but may not play newer games directly.
After the drive is physically connected, close the system and boot it up.
If the system starts normally, check whether the drive is detected. On a Windows PC, a new drive may not appear in File Explorer right away. It may need to be initialized, formatted, or assigned a drive letter in Disk Management.
Be careful during this step.
Formatting the wrong drive can erase data. Before clicking through any setup prompts, make sure you selected the new empty drive, not an existing drive with important files.
Once the drive is ready, decide how you will use it.
A fast SSD is a good place for games you play often. A larger HDD can be useful for older games, screenshots, recordings, backups, or files where speed matters less. External storage can help with backups, portable files, or supported games depending on the device.
Finally, verify the installation.
Open the drive folder. Create a test folder. Move a small file if needed. Install or move one game. Confirm that the launcher can use the drive correctly.
A good storage installation does not end with “I plugged it in.”
It ends with: the system sees the drive, the drive is ready to use, and it works for the job you need.
Which Installation Path Should You Follow?
Before you finish, match the drive to the correct installation path.
If you have an M.2 SSD, focus on the motherboard slot, the notch, the angle, and the small screw or latch. Your main safety check is making sure the drive is seated correctly, secured flat, and not forced into the slot.
If you have a SATA SSD or hard drive, focus on the drive bay, SATA data cable, and SATA power cable. Your main safety check is making sure the drive has both connections before closing the case.
If you have external storage, focus on the correct cable, port, and device rules. Your main safety check is making sure the system recognizes the drive and that your PC or console allows it to be used the way you expect.
Once you know which path matches your drive, the installation becomes much easier to follow. You are not trying to install “storage” in general. You are following the correct steps for the specific drive in front of you.
Install Carefully, Then Confirm the Result
Installing storage is like following a recipe. When you complete each step in order, the final result comes together safely and predictably.
Do not rush the process.
First, identify the storage type.
Then prepare your workspace.
Install the drive carefully.
Connect the correct cables if needed.
Close the system.
Boot it up.
Check detection.
Format the drive only if needed.
Choose where games will install.
Then verify that everything works.
If you are installing an M.2 SSD, focus on the slot, angle, and screw.
If you are installing a SATA SSD or hard drive, remember that it needs both data and power.
If you are using external storage, check the cable, port, and device rules.
The goal is not to become a hardware expert overnight.
The goal is to follow a safe checklist so you can install storage without guessing, protect your existing files, and confirm the drive is ready before trusting it with your games.
After learning how to install gaming storage, explore more beginner-friendly PC setup guides in our Setup Zone category page.
Leave a Reply