
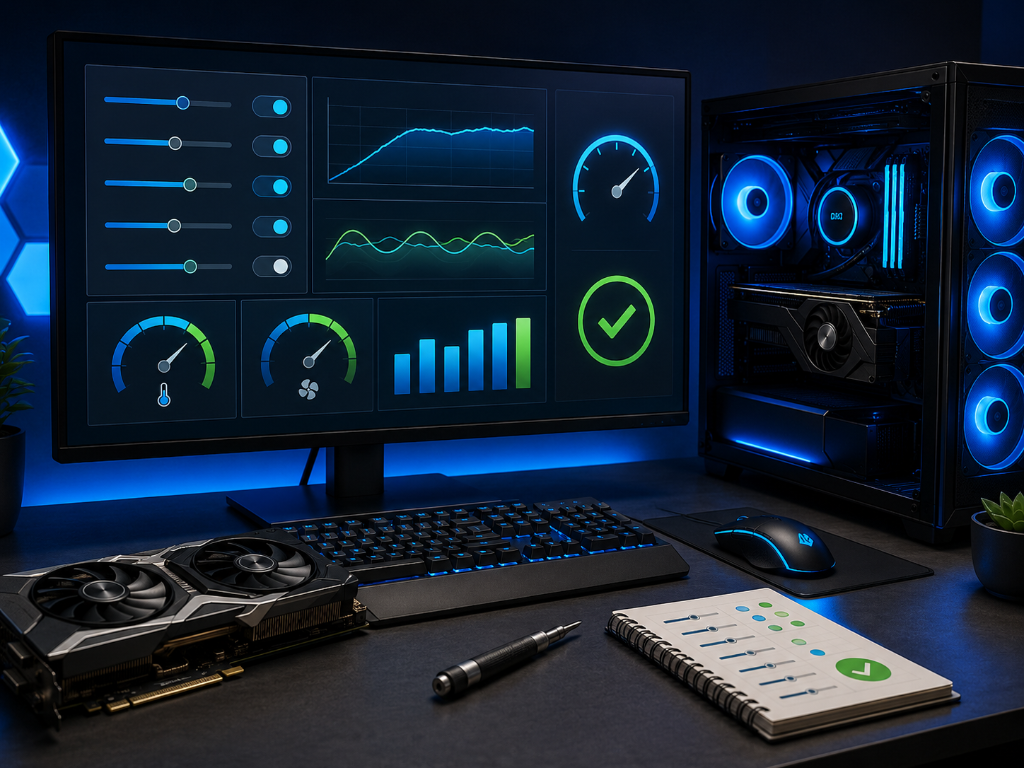
One of the most common beginner mistakes in PC gaming is changing too many GPU settings at once.
A game feels laggy, so they lower everything.
Then another game looks blurry, so they raise everything again.
Suddenly the experience feels inconsistent, confusing, and difficult to control.
For video games as a hobby, GPU optimization is not about chasing “perfect settings.”
It is about creating a stable and comfortable gaming experience that feels smooth during real gameplay.
The easiest way to do that is simple:
Adjust one setting at a time and observe the result.
That single habit gives beginners far more control over performance than randomly changing dozens of options at once.
If you’re still learning how gaming graphics cards affect performance and stability, our Beginner’s Guide to Gaming GPUs can help you understand the basics before optimizing advanced settings.
The Beginner Who Couldn’t Tell What Fixed the Problem
Imagine a beginner launching a demanding game for the first time.
The game stutters occasionally, so they immediately open the graphics settings menu.
Without testing anything, they:
- Lower shadows
- Turn off effects
- Enable performance modes
- Change resolution scaling
- Cap the frame rate
The game now feels different, but the beginner has no idea which setting actually helped.
So they continue changing more options and become even more confused.
Now imagine a more methodical beginner.
Instead of adjusting everything at once, they test settings one step at a time.
First, they lower shadows.
Then they play for several minutes.
Next, they test texture quality.
Then they monitor temperatures and FPS again.
Slowly, they begin recognizing patterns:
- Some settings heavily affect FPS
- Others barely change performance
- Some settings increase temperatures noticeably
- Some settings improve stability more than visuals
Now the beginner feels in control instead of overwhelmed.
That is the real advantage of methodical optimization.
Optimize Through Small Adjustments and Feedback
The best beginner optimization strategy is gradual testing.
Start with this sequence.
Step 1: Begin With Medium Settings
Medium settings create a balanced starting point for most GPUs.
This avoids extreme performance problems while giving you room to adjust later.
You will know this is working if:
- Gameplay feels stable
- FPS stays relatively consistent
- Temperatures remain reasonable
- Fan noise does not become excessive
A useful beginner expectation:
Medium settings already look very good in many modern games.
Step 2: Turn On an FPS and Temperature Monitor
Use your GPU software, game overlay, or monitoring tools to watch:
- FPS
- GPU temperature
- Fan noise
- Overall smoothness
These are your feedback tools.
Optimization becomes much easier when you can see changes happening in real time instead of guessing.
Step 3: Adjust One Setting at a Time
Choose only one graphics setting before testing again.
For example:
- Shadows
- Texture Quality
- Anti-Aliasing
- Ray Tracing
- Resolution Scaling
Then test gameplay for several minutes before changing anything else.
You will quickly notice:
- Some settings improve visuals heavily
- Some settings cost a lot of performance
- Some settings increase heat and fan noise
- Some settings barely change visual quality at all
This teaches you how your GPU behaves during real gaming instead of relying entirely on internet recommendations.
Step 4: Watch for Stability Problems
Optimization is not only about FPS.
Pay attention to:
- Stuttering
- Sudden FPS drops
- Excessive temperatures
- Loud fan spikes
- Crashes or instability
If the game feels unstable, lower demanding settings gradually instead of immediately lowering everything.
This keeps troubleshooting controlled and easier to understand.
Step 5: Prioritize Stability Over Maximum Settings
For beginners, stable gameplay usually matters more than pushing every setting to Ultra.
Good optimization often means:
- Fewer stutters
- Stable FPS
- Lower temperatures
- Less fan noise
- More consistent gameplay during longer sessions
That creates a smoother and more comfortable overall gaming experience.
Step 6: Repeat and Refine
Once you find stable settings, make smaller adjustments later if needed.
Optimization is not a one-time process.
Different games may need different settings depending on:
- GPU strength
- Monitor resolution
- Cooling quality
- Game engine demands
That is completely normal.
The goal is not perfection.
The goal is understanding how your setup responds to changes.
Optimize One Setting Today
Optimizing GPU settings is like tuning a vehicle: pushing everything to the maximum may look exciting at first, but smooth and stable performance usually creates the better long-term experience.
Open one of your games today and do this simple test:
- Start with Medium settings
- Turn on an FPS counter
- Change only one graphics option
- Play for 5 minutes
- Observe FPS, temperatures, smoothness, and fan noise
Then repeat with another setting.
You will learn far more about your GPU through small controlled tests than through copying someone else’s “perfect settings” online.
After optimizing your graphics settings, explore more practical setup and performance strategies in our Setup Zone category page.
Leave a Reply